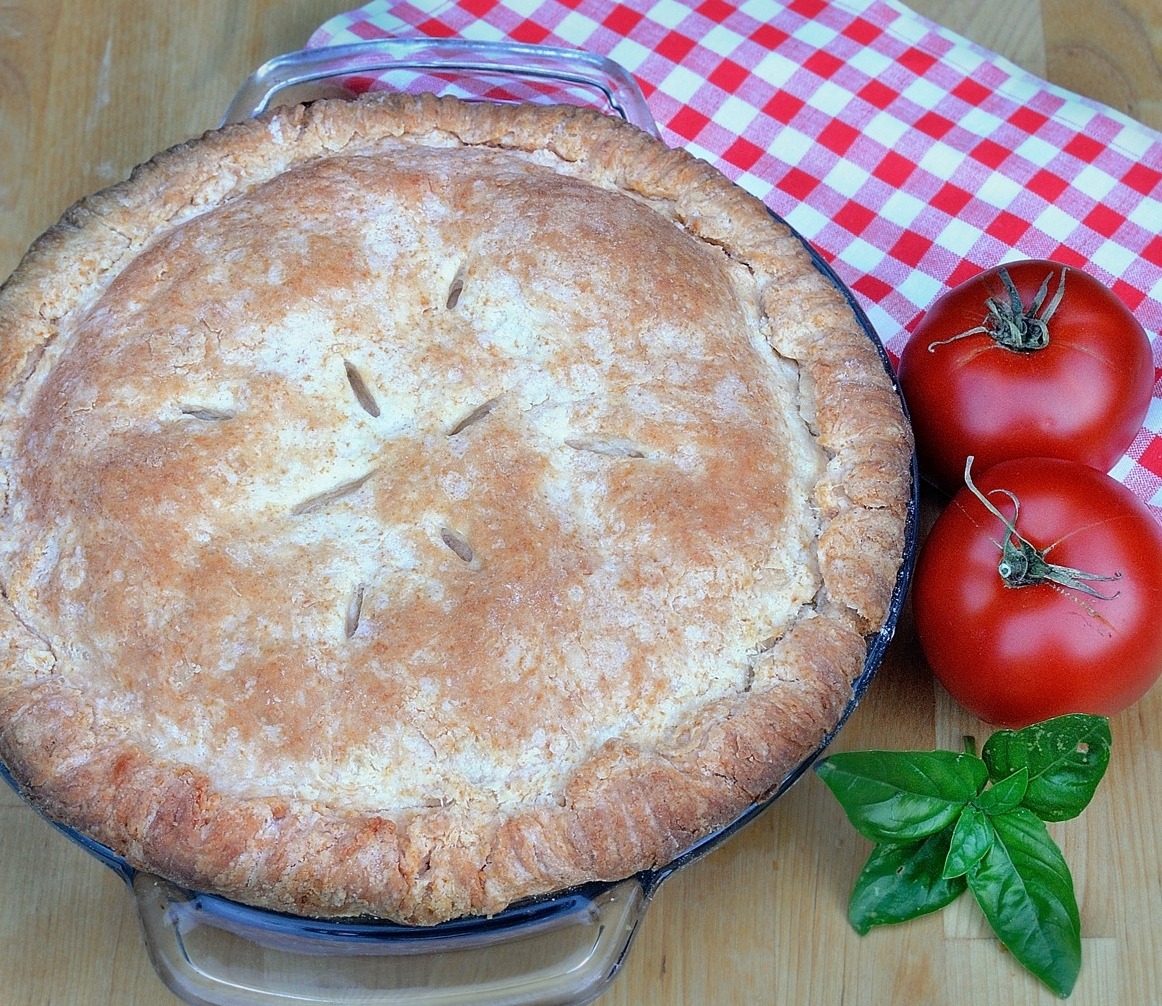
Not too long ago my facebook friend Roz Coreri Paige posted that she had won a contest for her Italian style tomato pie, which brought to mind Laurie Colwin’s Tomato Pie that I have wanted to make for I can’t tell you how long, I just never quite got there!
So I searched through my files and there it was, after at least 20 years! Off we go to the Trout Lake Farmer’s Market in search for some local, fantastic, outdoor grown tomato beauties. I could hardly wait to try out Laurie’s recipe!
I adored the essays Laurie wrote for Gourmet Magazine back in the late ‘80’s and ‘90’s and now wish I would have saved them all! If you ever get the opportunity to read any of Laurie’s work, do.
Here is the recipe I followed:
2 pounds homegrown tomatoes, thinly sliced
2 cups flour 1 stick butter (4 oz.)
4 teaspoons baking powder
3/4 cup (or thereabouts) milk
1½ cup sharp cheddar cheese, grated
1/3 cup mayonnaise
2 tablespoons lemon juice
Chopped basil, chives or scallions to taste
Make the biscuit-dough crust by blending flour, butter, baking powder and milk either by hand or in a food processor. Roll out half the dough on a floured surface and line a 9-inch pie plate with it. This dough is thicker than a normal pie crust.
Layer the tomatoes on top, scattering with scallions and/or herbs. Sprinkle 1 cup of the cheddar over the tomatoes.
Thin the mayonnaise with lemon juice and drizzle over top, followed by remaining cheddar.
Roll out remaining dough, fit it over the filling and pinch the edges of the dough together to seal them. Cut several steam vents in the top crust and bake the pie at 400 degrees for about 25 minutes. This is one of those dishes that tastes even better as leftovers the next day. Reheat in a 350-degree oven till the cheese is soft and gooey.
First: the filling is very tasty! Second: in my opinion, the recipe needs some tweaking, which I was not expecting at first but when actually working on the pie, I started to realize I would need to change some things to make it the way we would like it to be.
After speaking with my good friend, Chef Andrea about a couple of things, this is how I will be remaking the tomato pie.
- As a long time biscuit maker (the crust is basically biscuit dough), biscuits require salt and if you look at the list of ingredients there is no salt or pepper anywhere. So, I added 1 tsp. salt to the dry ingredients before working in the cold butter. I cut in the cold butter in the processor, placed the mixture in a bowl then stirred in the milk with a fork until it came together as I find it is much too easy to over-mix in the processor. You may find the need of a tablespoon or two more milk to bring everything together but you don’t want a wet dough.
- Leaving the skins on the tomatoes made eating the pie unpleasant with all those stringy tomato skins. Cut an “X” into the blossom end of the tomatoes and blanch them for 10 seconds in boiling water, place in an ice-bath until cool and peel, then slice and set aside. (Chef Andrea suggested removing the seeds from the tomatoes before slicing them to reduce the amount of liquid in the pie as there was quite a lot and she even wondered whether to add a sprinkling of thickener such as flour or cornstarch between the tomato layers to help bind the filling together and reduce the excess liquid.)
- Roll out the crust as in the original recipe but you will need a larger than half (perhaps 2/3) of the dough for the bottom crust; the dough will be a bit thicker but not a whole lot and it should overhang the pie plate.
- I would recommend, dividing up the 1 ½ cups of cheese and keeping aside ½ cup for the final layer before the top crust goes on. Putting a handful of the grated cheese on the bottom before adding half the tomatoes, season the layer of tomatoes, sprinkle with salt and pepper; top with half of the basil and green onions (I liked the addition of both, so used 2 or 3 tablespoons of each) add the remaining tomato slices, top with what remains of the cheese, basil and green onions, sprinkling with a bit more salt and pepper.
- Mix together the mayonnaise (not light mayonnaise) and lemon juice. My husband and I thought that adding a pinch or two of cayenne next time would be a good thing!)
- Drizzle the mayonnaise mixture over the tomatoes.
- Roll out the remaining dough as per the original recipe, so that it fits to the edges of the pie then fold over the top crust, pinch together, crimp with a fork if desired. Don’t forget to cut several steam vents in the top crust. (If you like, you can brush the dough with a bit of melted butter before baking.) I am going to either brush my pie with the butter or cream for a bit of shine.
- Bake the pie in a preheated 400 F oven. This is a bit tricky because I found that it took somewhat longer than this, what you are looking for is a golden crust and bubbling filling. My feeling is that between 30 – 45 minutes. If the crust is getting too dark, simply lay a piece of tin foil loosely over the top and continue baking.
- The original recipe doesn’t specify letting the pie stand to cool before cutting. My experience was that after 15 – 20 minutes it was still much too hot and when I cut into it there was a huge amount of liquid that I did not want there. So my suggestion would be to allow to stand to room temperature or just barely warm before cutting.
Note: I did not reheat the pie so cannot say whether that bit works or not.
After tweaking the recipe, I will definitely make this pie again as it was very tasty and makes a nice summery meal with a big salad and a big glass of wine to toast Laurie Colwin the originator of the pie and a wonderful writer whose writing I miss very much. Laurie passed away suddenly in 1992 leaving a big gap in the world of excellent food writing.